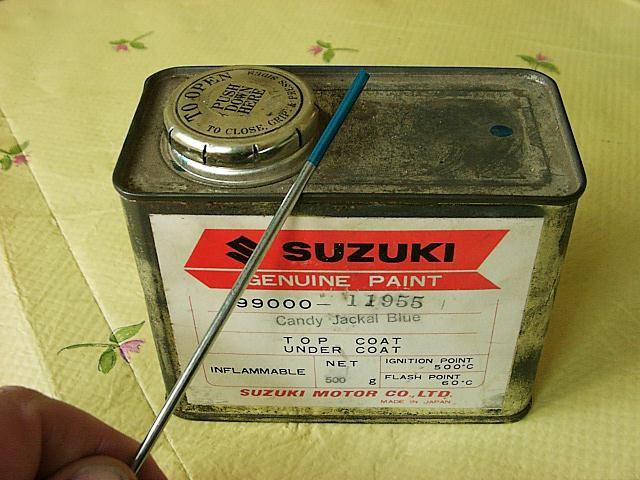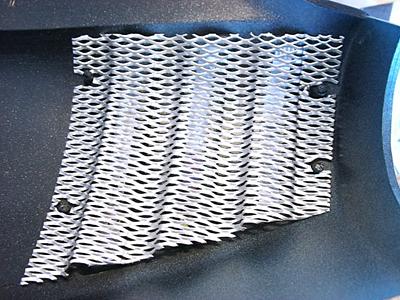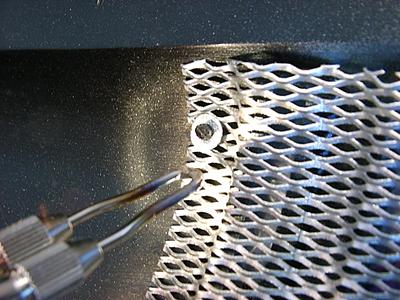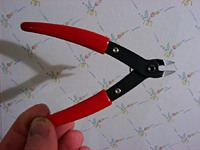
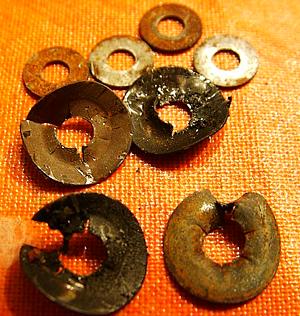
Removal of the aluminium mesh requires removal of the fastening washers which were fixated by melting the plastic tab. This melted surface can be cut using a plier like the one shown
above.
This animation shows usage of the plier for removing the melted plastic that hold the washers. Cut around the edges to leave the center plastic tab intact. This means it can again be melted down to lock another washer in place during reassembly. This works once, after which the tab will become too short to make it useable.
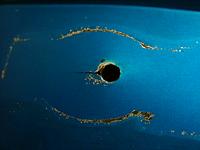
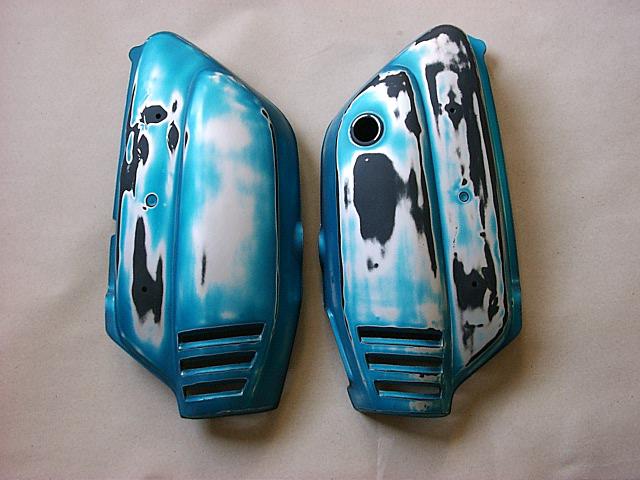
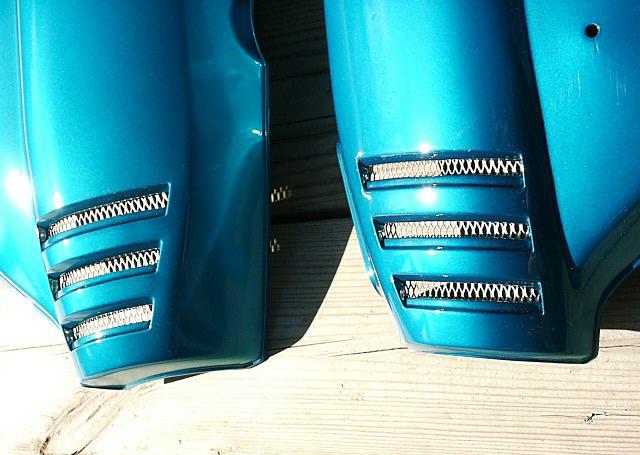
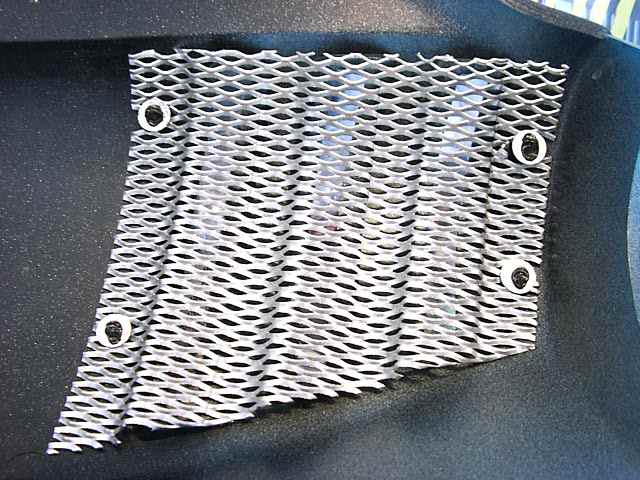
The holes typically crack due to mounting washers having been to tightly mounted
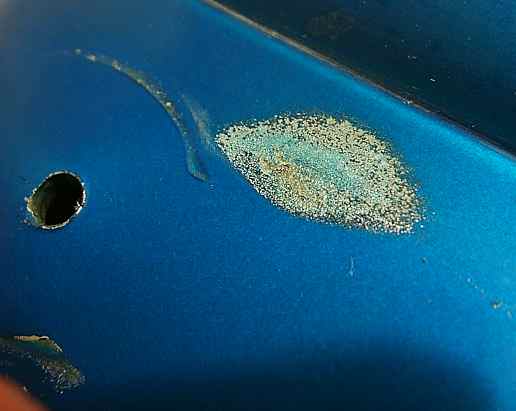
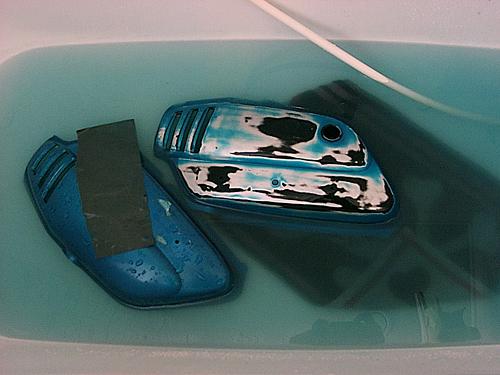
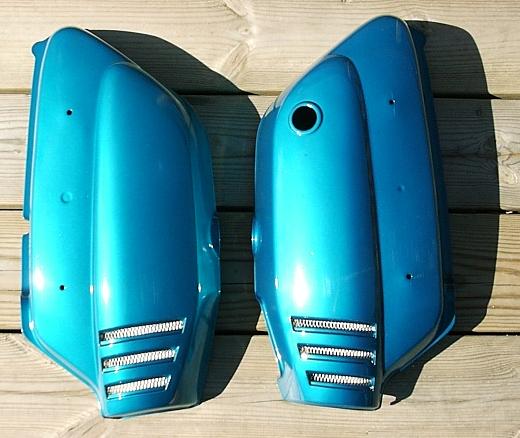
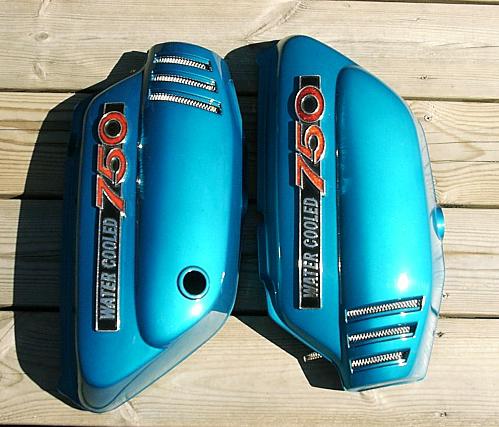
Typical flaws on sun-burnt side covers and vibration wear from 'water cooled' emblems.
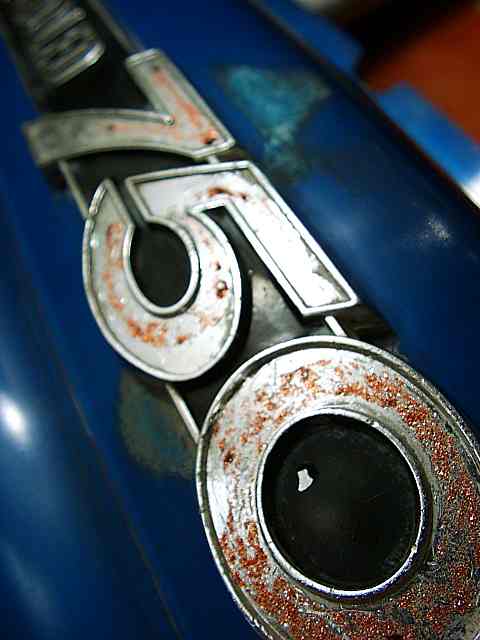
Emblems are typically not pretty, this one is beyond rescue.
New ones cost between 60-150 dollars/pair depending on how lucky
you are.
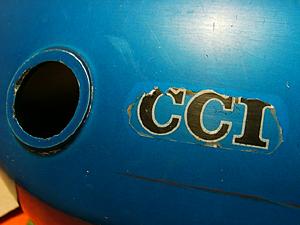
Seasoned CCI decal
Typical dealer quote for a new one:
68171-26000 - Emblem, CCI (Qty. 1) - $2.00
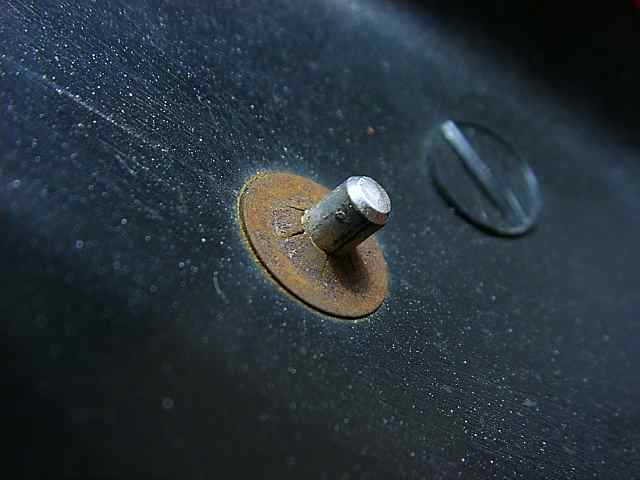
The washers that holds the 'watercooled' emblems are typically difficult to remove.
09148-04007 Nut, Frame Cover Emblem Qty. 1 $0.80
Four (4) are required.
Unfortunately the emblem locking washers fight hard to stay in place so they are typically destroyed by removal.
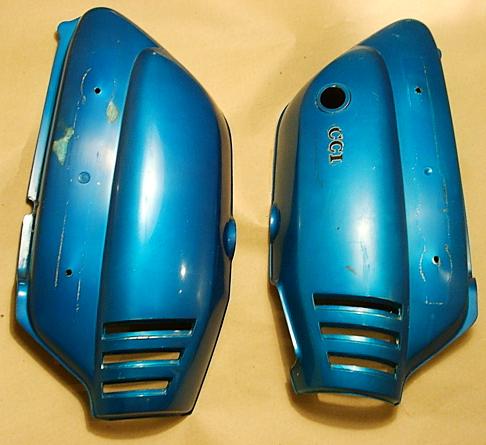
Here are the covers ready for the next process - wet sanding down the blue candy layer.