Suzuki GENUINE PAINT for
the GT750
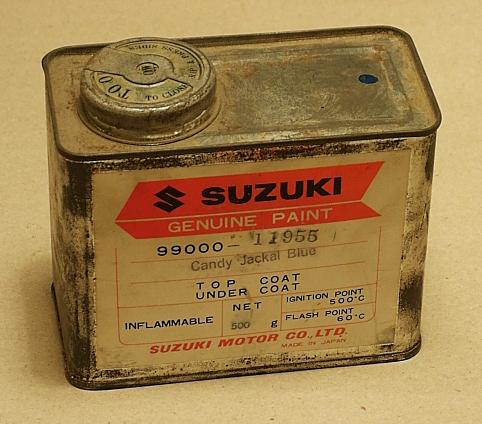
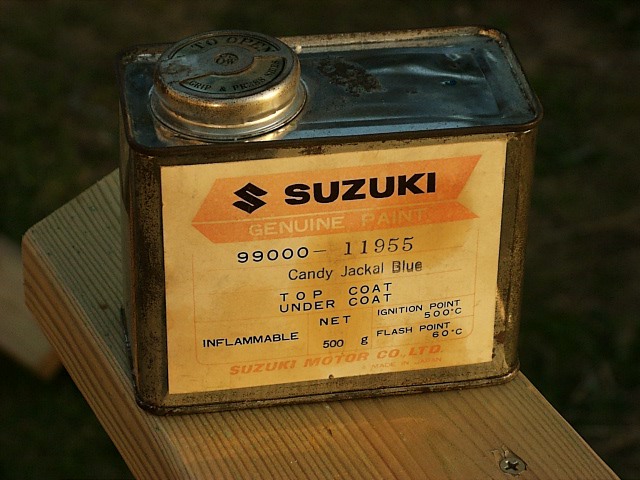
Be amazed ! I was able to get this original can of "SUZUKI GENUINE PAINT" for the
GT750J from Vintage Parts in Ohio. I will use it to repaint the side covers only. According to Sam Costanzo one
such 500g can would be sufficient for a complete bike respray. Click on the smaller images for higher resolution.
(our life giving neighbour planet The Sun serves as the light source for these pictures). |

Quite a rare sight. I didn't know these existed. |
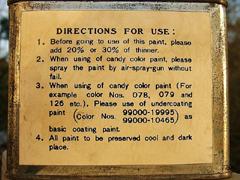 Funny instructions in 'Japanese English'. Funny instructions in 'Japanese English'.
I wonder what they mean with 'without fail' ? |
|

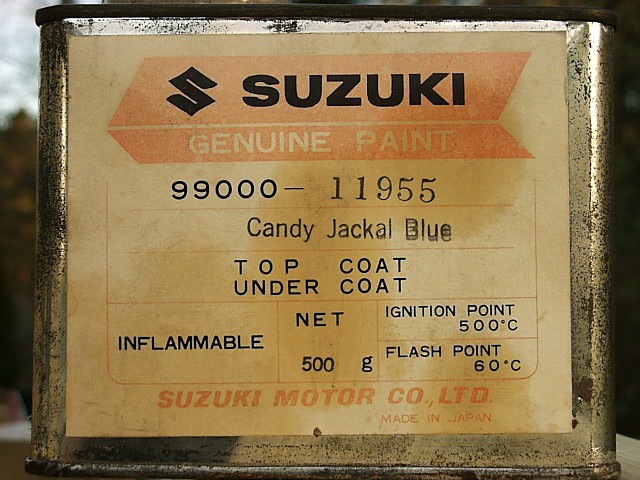
The front label |
|
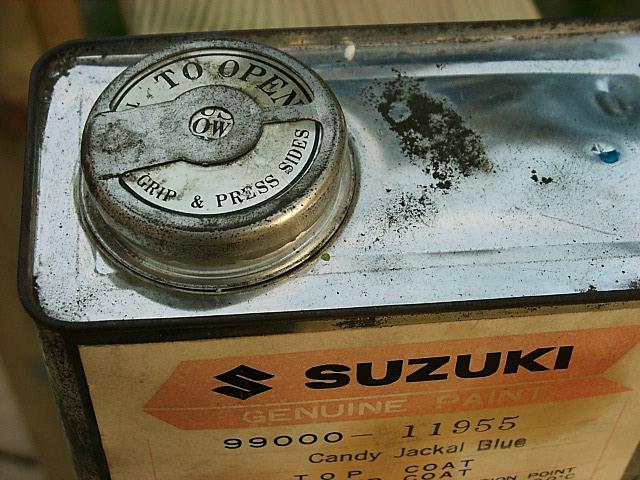
The can contains the Candy layer paint. You can see a sample dot of this semi-transparent
color remains on the can on the upper right part of this picture. Applying this paint is a three layer process.
First a silver layer is applied, then this candy, and finally a clearcoat. I only got the candy component as an
original chemical, remains to see how well it will coexist with today's spray can silver and clearcoat products.. |
Here we go !
Attempt #1 June 17..
This started out real good, applying the candy was very easy. I found out I probably used
too little thinner
because to get the right gloss finish I had to apply a thicker candy layer than is probably correct and this caused
a slightly too dark candy jackal blue. Otherwise perfect result !
But then I decided to apply some spraycan clearcoat
on top of it all..
The spraycan from hell leaked paint at the nozzle which dripped onto the fine blue surface
!! :-(
Totally ruined. So I'm now back to grinding down to the silver layer again. I didn't give up after the first
cover but figured I'd try some clear on the other cover, taking care not to get drips of clear onto the cover..
How stupid can one get. Applying spraypaint clear evenly is difficult on a large surface. Dries quickly before
the whole
area has been sprayed with enough gloss and in my prolonged attempts finallly the clear began to slide.
So I ruined the 2nd cover as well. So now I know what NOT
to do. Can only mean that the next attempt will be perfect !! Conclusion is if you don't have real pressure spray
gun clearcoat paint at hand, just forget about it. The spray can clear is risky. The candy seem strong and glossy
enough without a clearcoat anyway. Pictures show the progress up to the point before I attempted to apply the spraycan
clearcoat..

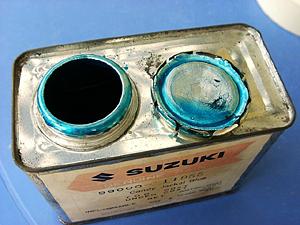
Opened can revealed perfect NOS paint
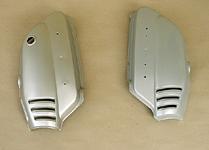
Before candy layer |
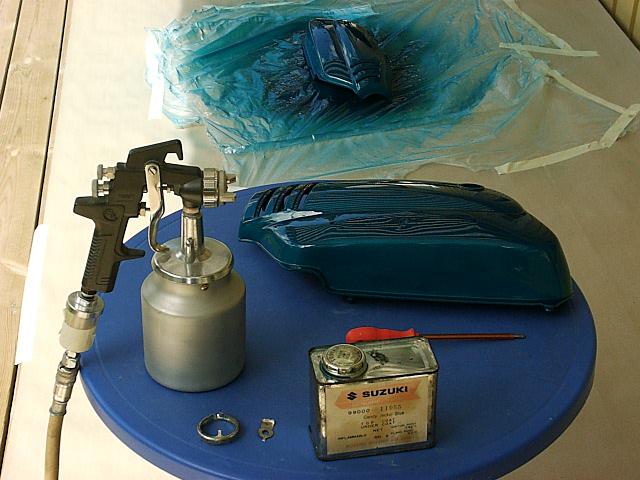
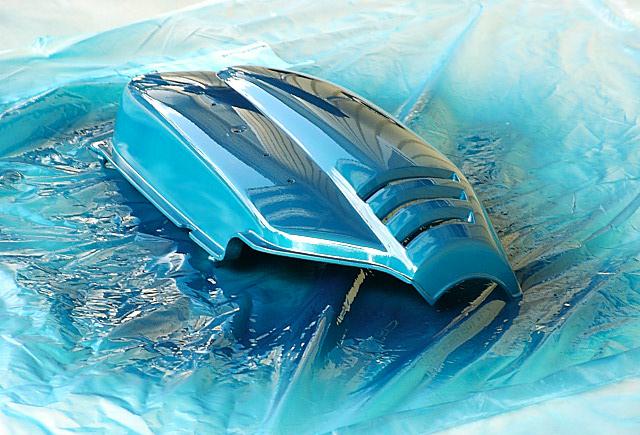
Perfect finish, slightly too dark. More thinner in the paint will allow
applying more transparent layers so I hope to get it just right the next time. |

Looks Ok |
Attempt #2 July 09
The above covers were quite set back in appearance when I applied paint stripper on them
to
get rid of the failed paintjob. A rough black plastic surface appeared. So I figured I'd save lots of work by
finding another pair of covers. Found a decent pair on Ebay sprayed in a green metallic color. The paintjob
had been done without removing the emblems. When I took these off it revealed the familiar Candy Jackal Blue color..
I sanded them down, applied a new silver coat and did a 2nd attempt with the NOS paint.
This time I did not drip any clearcoat blobs onto the covers. Here is the result with the NOS emblems installed
ready to go onto the bike :
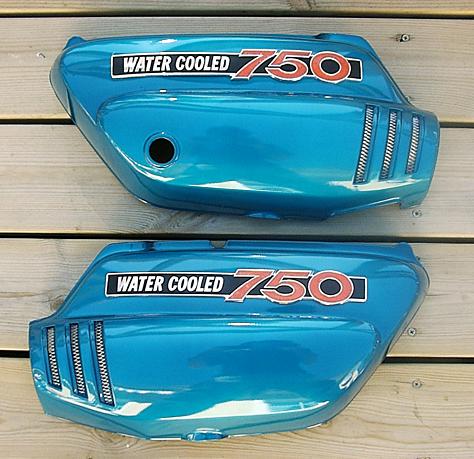
Repainted GT750 J side covers (no clearcoat used
on top of the Suzuki paint this time).
One final can of paint
2000-11-08: I now got the last can of Candy Jackal Blue which Vintage Parts had for sale.
I'll keep it for the future..

See also this page about another set of covers
I repainted
Also there is a page that illustrates
the J model fuel tank striping 
(c) 2000 Gunnar Forsgren, Sweden, All Rights Reserved
 Funny instructions in 'Japanese English'.