5/8" tap, unusual extended model. This particular length is no advantage for the use discussed here but it serves as an illustration of a 5/8" tap...
Getting the cylinder block to come off or move at all seems to be a serious problem on engines that have not
been apart for a long time or ever before. People around the world have stalled GT750 engine restoration projects
laying around on shelves where they failed to get the block off. Residues build up between the stud bolts and the
holes that go through the cylinder block and can make it difficult to have the block move.
Years of chemical reactions from leaking cooling fluid and water entering in from above can cause the studs to
bind real hard to the block. Two main methods exist for pulling the block. One is to manufacture a puller plate
bolted onto the cylinder block (using M8 bolts), with threaded holes that allow screwing down bolts into the cylinder
block holes so they push against the cylinder studs. This will have the block be pulled upwards. It is a good idea
to soak the stud holes with penetrating fluid (WD40, etc) some week(s) before so any serious corrosion is softened
up.
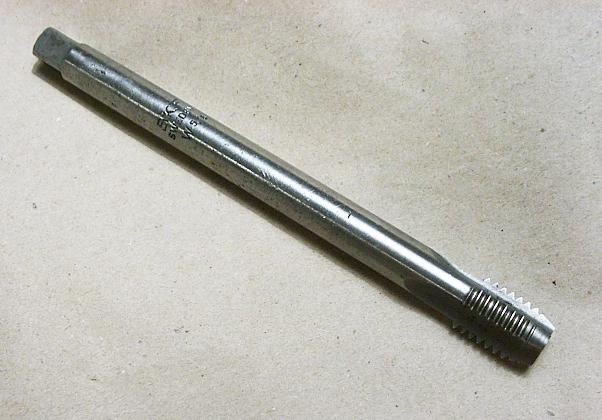
The other method is to thread the stud holes using a 5/8" tap. The holes are appr 15mm diam at the uppermost section cavity where the head bolts normally go. By threading this hole and screwing down 5/8" bolts in an even fashion the cylinder block will be pulled upwards. I haven't tried this myself but I got myself a 5/8" tap at a parts market that will be handy if I should need to try this in the future :
5/8" tap, unusual extended model. This particular length is
no advantage for the use discussed here but it serves as an illustration of a 5/8" tap...
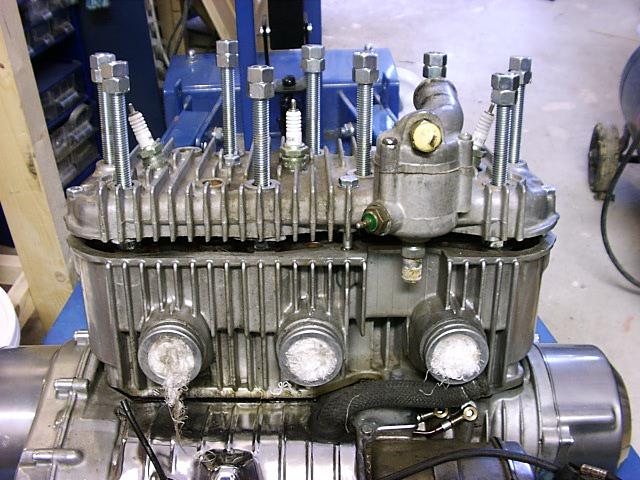
In my case I used the actual cylinder head as a puller plate. That is not recommended because there is a risk
of
warping the head if applying excessive pulling force. Anyway I succeeded by using this method so likely my block
wasn't seriously stuck.
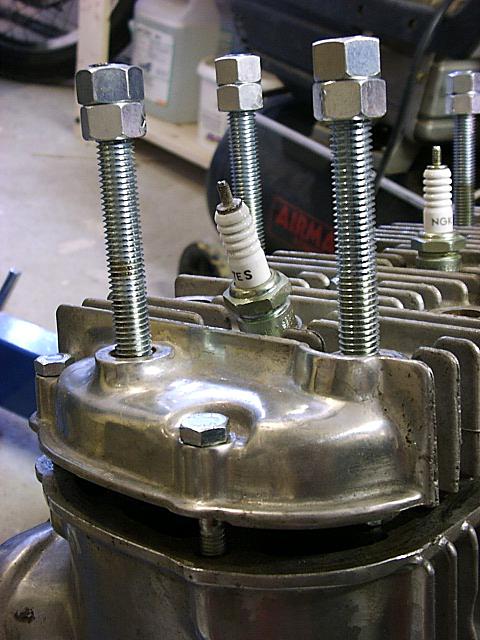
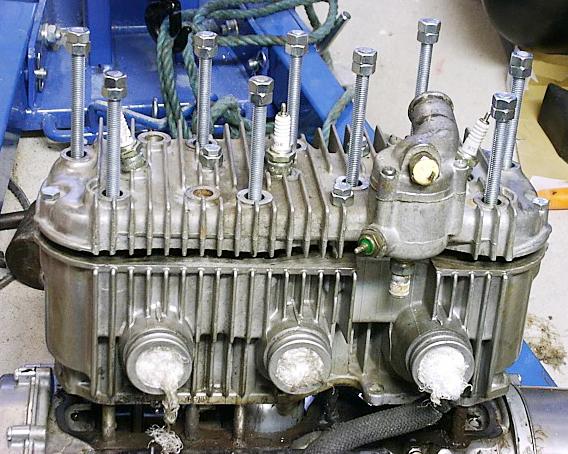
In order to get the stuck cylinder block off I manufactured a puller tool that used the cyl head as a puller
plate.
When the bolts are turned the washers with welded-on nuts press upwards against the head which is bolted to the
cyl barrel
using the smaller M8 bolts. This works to pull the cyl barrel upwards. Bolts must be turned evenly to yield an
uniform force and to avoid warping the head. Take care ! I don't recommend using the actual head the way I did
here, rather use a massive plate if you have the patience to have one made for you.
|
|
|
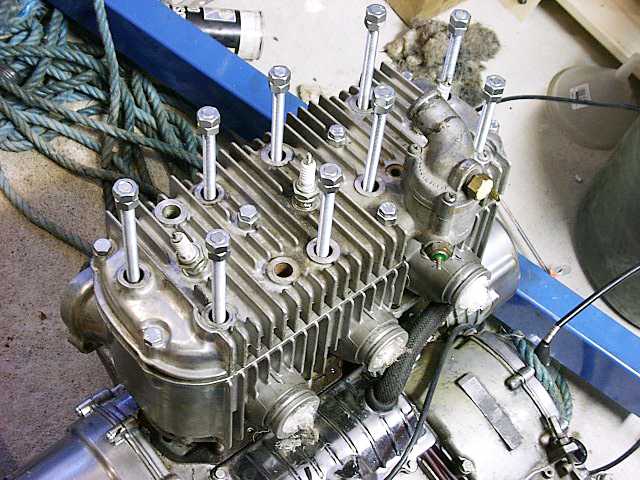
 Dual M12 nuts locked against each other on threaded rods creates a set of pushing bolts. |
 Nine washers press against head bottom surface, a M12 nut is welded onto each washer. Turning the threaded rods will pull the cylinder block. |
||
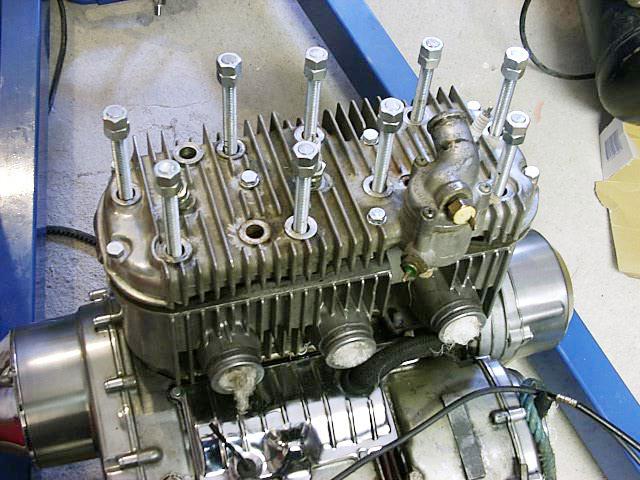
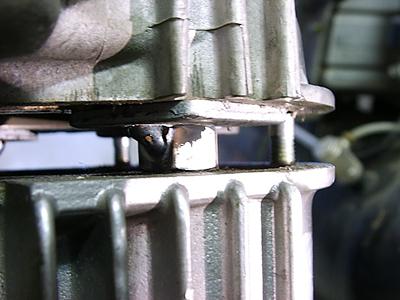
 This is how far the M12 pusher bolts could pull the cylinder. It still won't come off, a few studs still prevent removal by hand. I will try making a M10 bolt set tomorrow which can press all the way down the stud holes. Then the cyl will likely come off. |
||
2nd attempt - M10 puller setupI manufactured a new set of puller bolts and washers using M10 threaded rods. This allows pushing all the way |
||
 |
 |
|
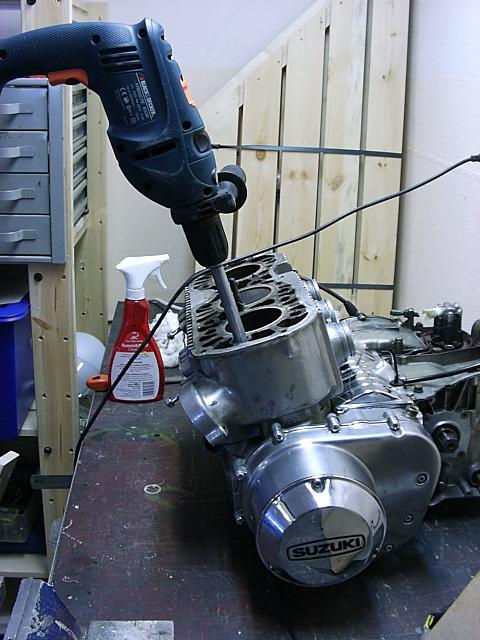
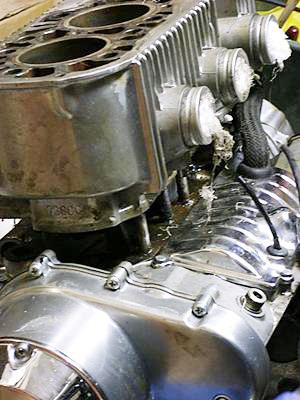
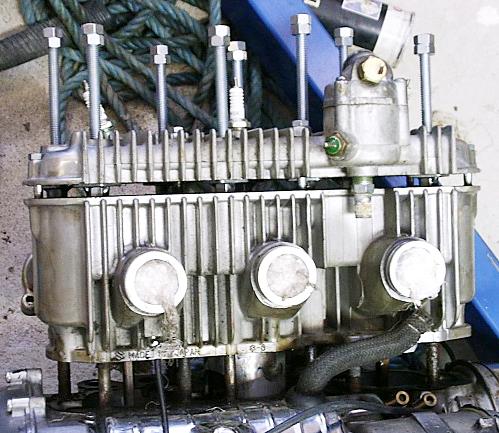 Ready to begin the pulling |
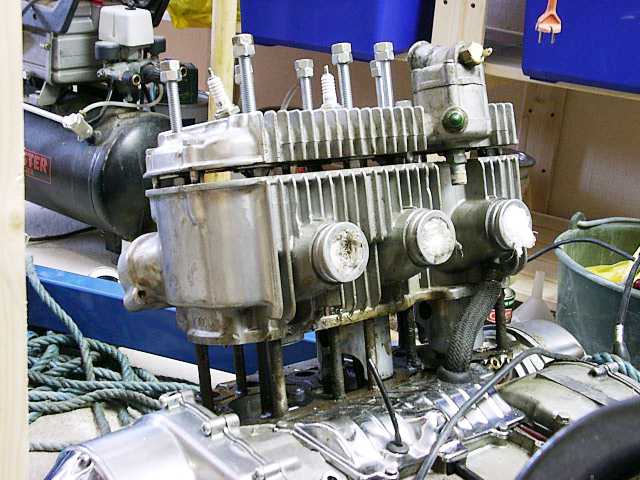 When I got the block to this level it began loosening up and after a while I could lift it off by hand ! |
|

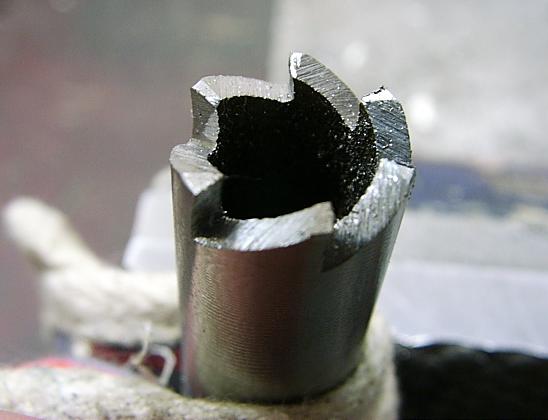
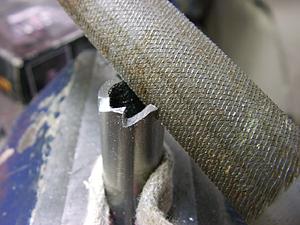
This was my first attempt in trying to get the cyl block off. I had this tool manufactured to clean out the stud holes in the cylinder block. An ambitious and costly project. But, I learnt the hole diameter changes further down in the block and it is not possible to bore all the way down the studs. So this tool only serves to clean up a depth slightly further than as far as the head bolts go.
This tool IS useful for cleaning up and CAN help in getting rust penetrating oil to
reach down around the studs. But it is not directly effective for getting the cylinder barrel off.
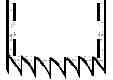
* * SUMMER SALE * * I will now sell four of these special order 'tube drills' for $30
a piece + shipping. US $40 total to the U.S. or Australia.
It costed me about $200 total to have five manufactured :-(
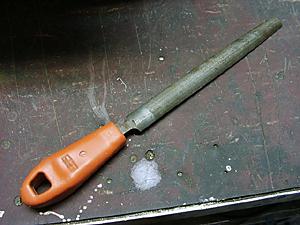
You would have to file the teeth yourself according to the below pictures, quite easy.
 |
|
|
 |
|
This is how far down the bar will go, |
There exists a later type of washer for the head bolts that will seal against water entering into the
cavity where the head studs and nut go. This helps reducing the tendency for corrosion and thus less difficulty
getting the cylinder barrel off the next time you or somebody else have to do this job again.
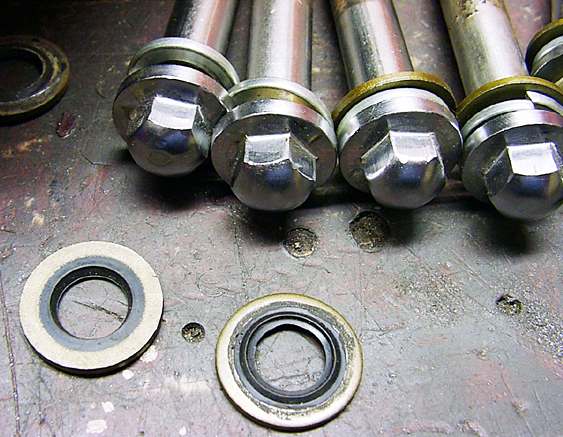
I got these sealing washers from Paul Miller.
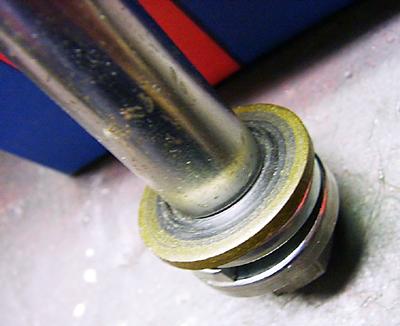
This is how they seal when installed.
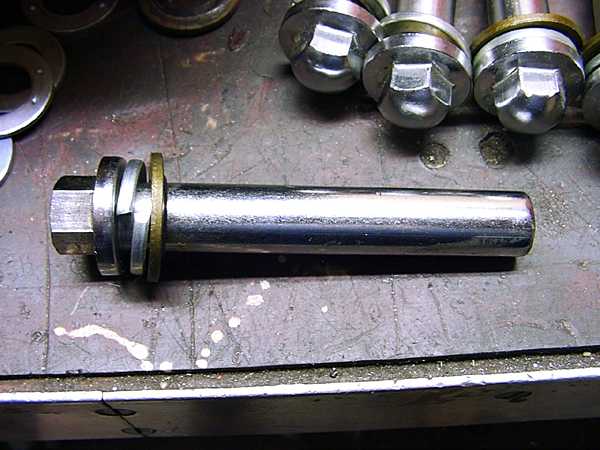
This shows a head bolt that came with a used cylinder block I bought. It had been sealed using this type of washer
and you can see the chrome remains perfectly intact.

Here is another bolt that spent its life without a sealing washer, see the difference !
For your convenience click here for traffic that occurred on the GT750
mailing list some time ago regarding cylinder removal.
If anybody find their posting there and do not want it to appear on that page please contact me so I can remove
it.
Here is a page that shows the same priunciple using a dedicated barrel plate instead of a more delicate alloy head :
http://www.focusclassicbikerestorations.com/page6.html
(C)2001 Gunnar Forsgren, All rights reserved