Suzuki GT750 - Ignition timing
This page provides some info that can be of help when setting the ignition timing correctly on the GT750 engine. The timing need to be set with high accuracy on this type of three cylinder two stroke engine. This page will contain info on the aspects of doing this.
| Disclaimer: This information is provided in good faith based on the assumption that there will be no legal conflicts with any party as a result from providing this information. Almost all known workshop manual variants where this topic is handled are out of print and few will have any interest in charging for this information. I have not seen any prohibitive statements in the Suzuki workshop that would discourage reproducing some of the relevant pages regarding setting the timing. So a few such pages will be reproduced here. |
Ignition setting Tools
Suzuki recommends setting the timing wit the use of a special tool that consists of a dial gauge and a spark plug adapter. This makes it possible to 'dial in' the piston position corresponding to the recommended timing advance setting so that the exact position where the ignition points open (and the high voltage discharge spark appears) can be made to correspond to that pistion position.
Here is shown a number of piston setting tools. I ended up with two other models before I found the Suzuki gauge. Now I think I have enough of them.
Suzuki dial gauge #09931-00112
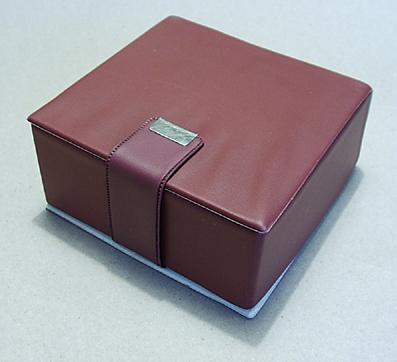
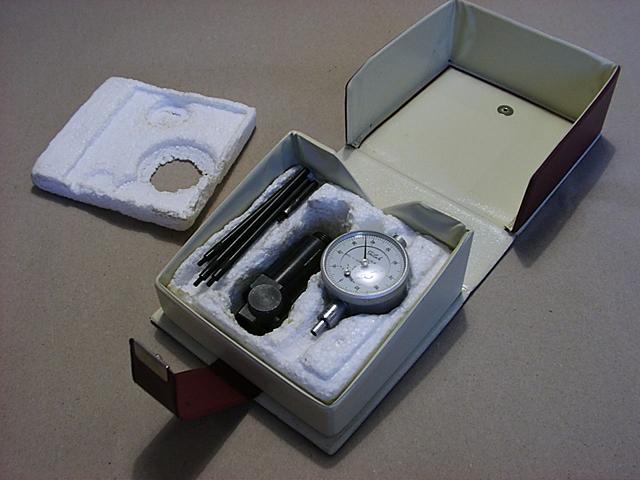
Here is the original tool in real life :
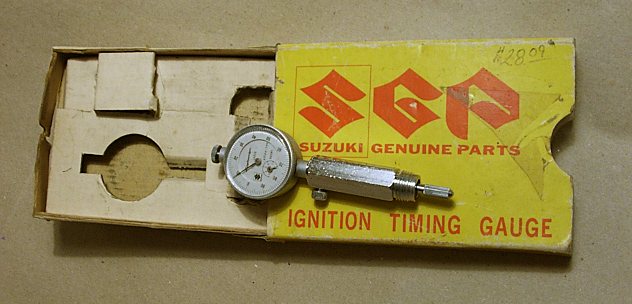 Tool with box, at some point in time somebody sold it for $28.09... |
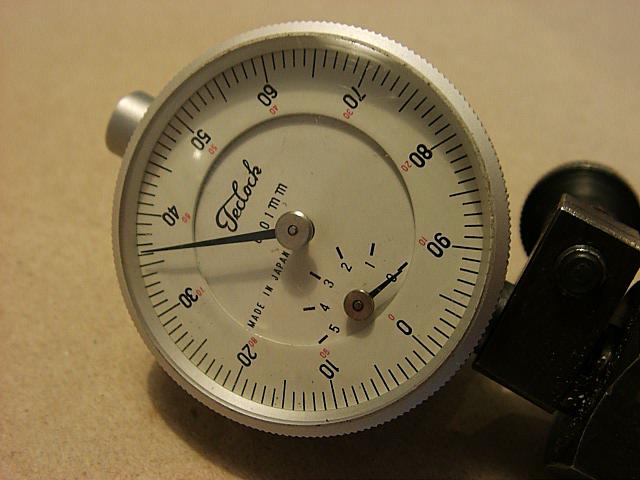
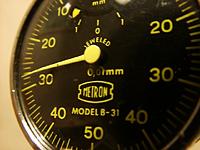
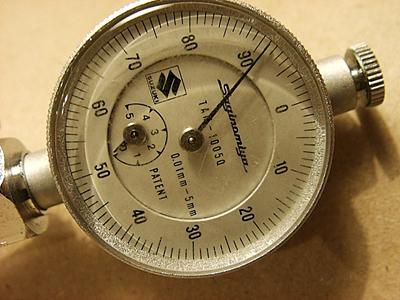 Closeup view of dial |
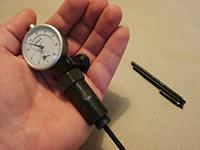
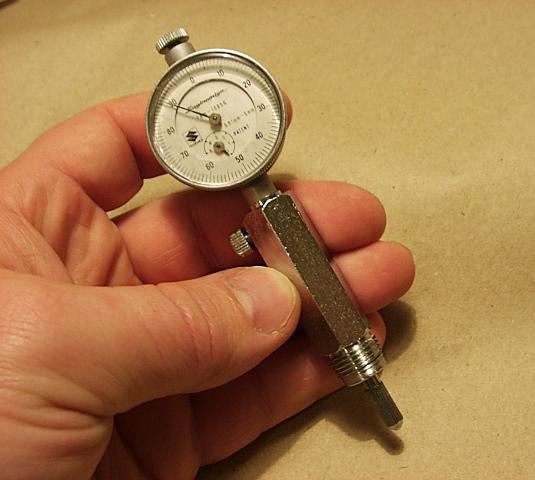 Compact size |
 Roller ball tip gives precision motion when used in angled plug holes ! |
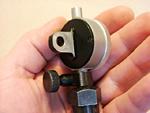
Teclock dial gauge
| This tool consists if a ordinary machine shop dial gauge of japanese origin, a spark plug adapter and rods of different length to suit various engines. It is simply another variant of the same type of tool, functionally equivalent. With the engine in the frame the adapter is a bit too tall for comfortable installation on the middle cylinder due to the lack of headroom underneath the fuel tank. When mounting the adapter in the center cylinder spark plug hole I had to temporarilly remove the big tightening nut from the adapter to avoid it stopping against the electric fan motor ! Part from this inconvenience it works well. I now get very good engine performance after having set timing using this gauge. |
|
Yamaha dial gauge (Part #90890-03002)
I've seen these around but don't have one myself. This tool is almost identical to the Suzuki tool except for having a Yamaha logo on the dial.
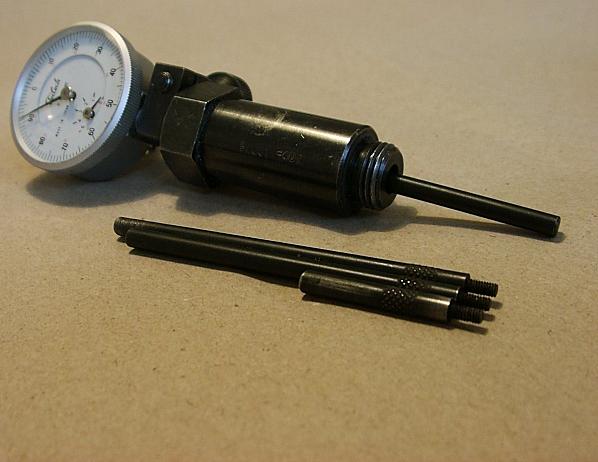
Micrometer tool
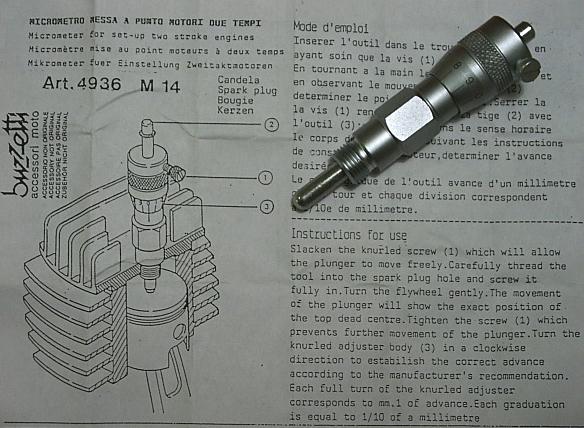
This is a 'micrometer' type gauge intended for setting the timing of two stroke engines. It should be possible to accomplish about the same precision as with the dial gauges but the procedure for using it is a bit different than the dial gauges.There is a 0.1 mm interval between etched marks on the adjusting screw so more detailed settings must be visually interpolated. After having used a dial gauge I now rather prefer the dial type of tool in case of the GT750.
Motocarrera timing tool
This is one of very few dial gauge timing kits available as a new product on the market today, US $109 :
http://www.motocarrera.com/tools.htm
Building your own timing gauge
You could build one yourself if you have access to a machine shop or friends in that trade. Such a homemade tool consists of a ordinary machine shop dial gauge, a spark plug adaptor and an extension rod of suitable length. Before I found any of the tools I experimented with making an adaptor from a spark plug.
 Dial gauge and Champion N-9Y plug cut open |
 This gauge has too little travel between stops (+-1mm) and cannot be used for piston timing, but may server as an example of a dial gauge. |
I experimented with a Champion plug and noticed by cutting the plug base just below the slotted area using a metal saw blade. The plug will separate into two pieces leaving the bottom of the plug as the base for a suitable adaptor. Do not attempt to hammer or drill the porcelain insulator out of the plug! You will only feel stupid and damage the drill bits before giving up :-) The trick is to cut the base so the plug separates. At least the Champion plug I tried this on responded well to this trick. I didn't proceed from there but for a person who lack professional machine shop resources the remaining procedure could be the following: Now locate a tube with inner diameter that fits around the outer diameter of the dial gauge axle. Cut this tube to suitable length and glue/cast it inside the spark plug bottom using epoxy. Drill a hole in the side of the tube and thread a stop screw into it. Done. You now have a homemade spark plug adaptor. The next step is to make an extension rod, the rod should be very stiff so it doesn't bend (giving a false reading) when used at an angle as for R&L cylinders of the GT750..oh well, I will leave it up to your own imaginaton to find out the rest.. Maybe the conclusion will be that buyng a ready made tool is better use of your time..
Factory specified settings
Regarding the timing setting issue; I studied the chapter on setting the timing in the "Suzuki Service Guide Model GT750" and the correct setting is specified as 24 degrees BTDC plus minus 2 degrees. There is a table showing the piston distance in millimetres corresponding to 22,23,24,25,26 degrees respectively for the two cases center or R/L cylinders. This should mean that the factory suggests there can be a plus/minus 2 degree tolerance in the setting before timing is considered as needing adjustment. This span corresponds to about 1 millimetre in piston advance tolerance (roughly one full turn of the dial gauge, see table below). My point is that the engine is not likely to burn pistons if you end up 0.1mm off the 24 degree setting but from practical tests I can testify getting a dial gauge is a good idea. It also looks important that when turning the crank to check for when the breaker open, that the crank be turned forward by turning from the right side of the crank or by using the kick starter, not by turning the timing shaft, due to a small slack in the coupling between crank and shaft. The difference between these two ways of turning the crank seems to correspond to about 0.2 mm difference in result on the dial gauge.
Reproduced below is the two pages of the Suzuki workshop manual that deal with setting the timing, enjoy :
 |
 |
Due to the angle of the R and L spark plug holes the measured distance is higher for these, as can be seen from the table. 24 degrees is the ideal crank timing advance to aim for when setting the timing. The mechanical imperfectness in the breaker contacts seem to add at least a 0.1mm jitter in the position where the plugs will fire when running. The precision will vary with the condition of the points.
I also have no idea at what fuel octane rating these values were established and if other settings would be preferred for other octane ratings.
Use of timing plate/stroboscope lamp
One practice owners report is to first set the timing using a dial gauge. Then a xenon type stroboscope lamp is used to see what location on the timing plate corresponds to the firing plug. Then scribe a mark on the plate at that location, repeat the procedure for all cylinders. The marks on the plate can then be used as indications when setting the timing at a later date without use of the dial gauge. This might not yield eactly the precision of using a dial gauge but seems to be sufficient for practical use.
© 2000 Gunnar Forsgren