

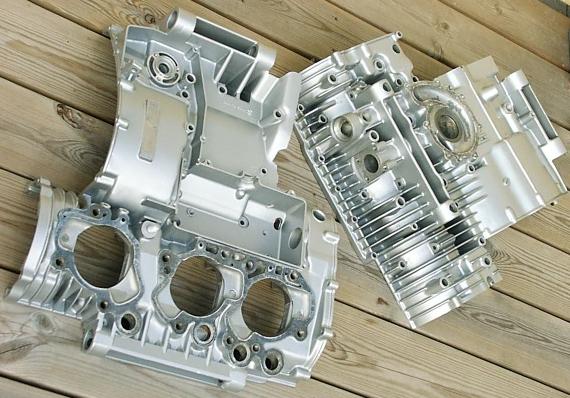
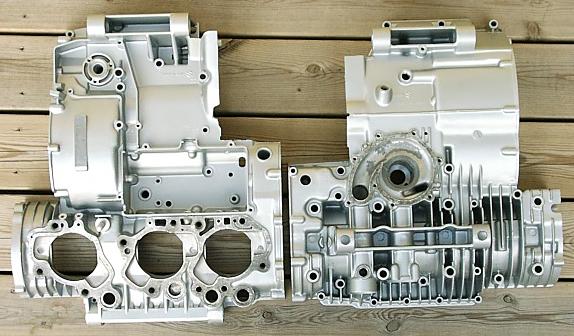
This shows my work of cleaning up and repainting the engine case. I used a controversial cleanup method named
sand blasting.
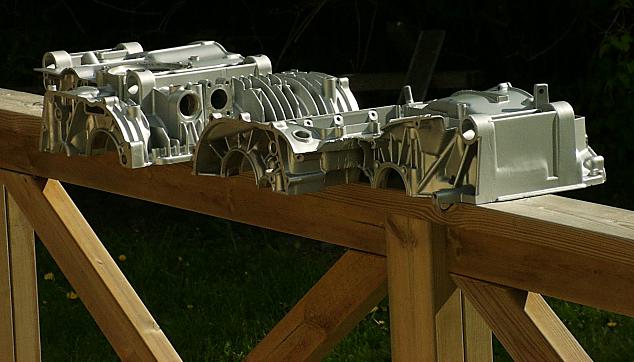
Yes, sand blasting ! I am pretty confident I have been able to get every little particle out of the case after
this work. But this does not mean you would. So I do not recommend you do this unless you are confident regarding
this method as well. The pro's recommend walnut shell media which is less fatal in case you would fail getting
all particles out of the case internals.
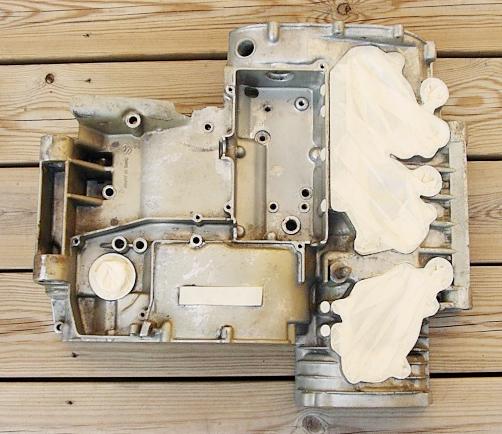
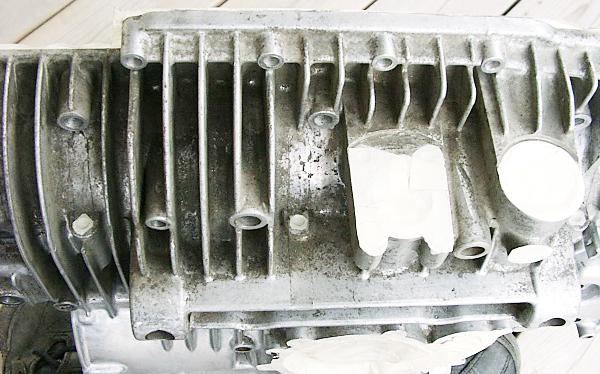
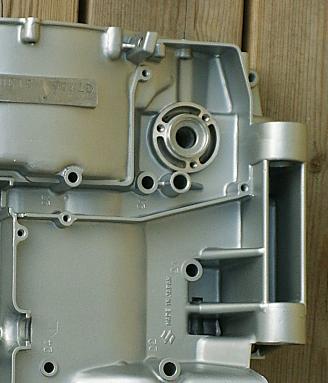
Case must be absolutely free from grease and dirt that would bind the blasting particles. All detail bolted/screwed onto the case halves most have been removed and the case cleaned. Do not proceed otherwise.
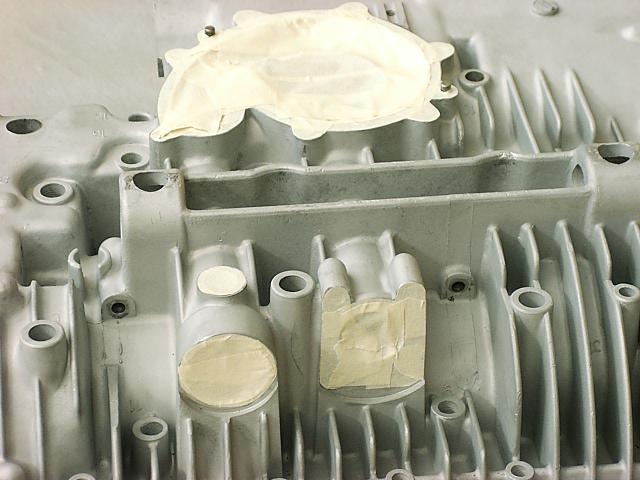
Machined surfaces may not be blasted . Little known is that masking tape is a great way to protect these surfaces.
Time spent on preparing
masking with great detail is time well spent. The blasting particles do not harm the tape due to its soft material.
At least as long as you use hobbyist air compressor capacity. I masked off the areas where the base cylinder gasket
go, oil injector inlets, oil pump base, VIN plate. The rest of the outside of the case are painted surfaces.
NEVER blast the inside of the case !!
|
|
|
|
|
|
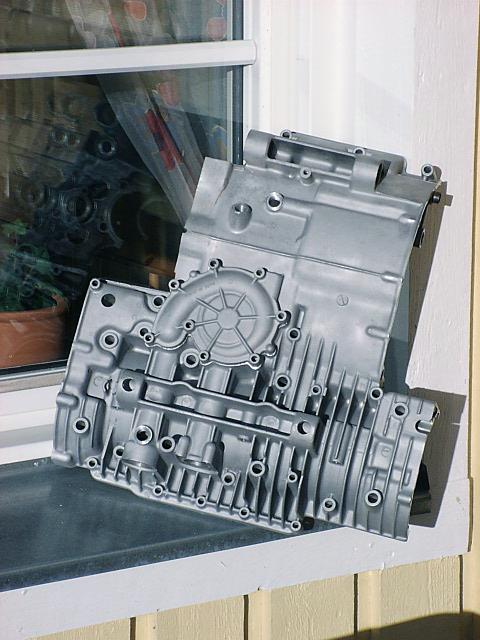
Cleaning the case halve after blasting is the most critical thing. If any blasting material remain inside the case when you reassemble the engine this will mean the death to your engine !! That's why this is not a method to recommend unless you are damn sure you are going to master it.
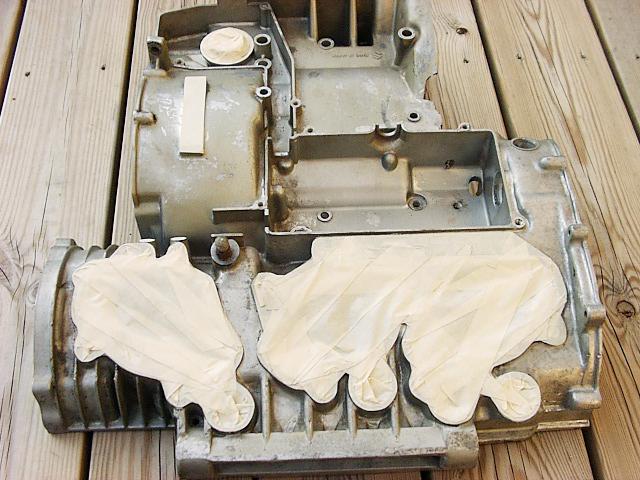
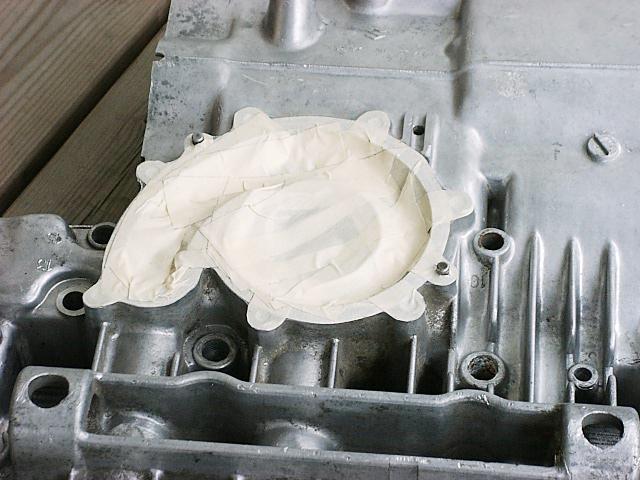
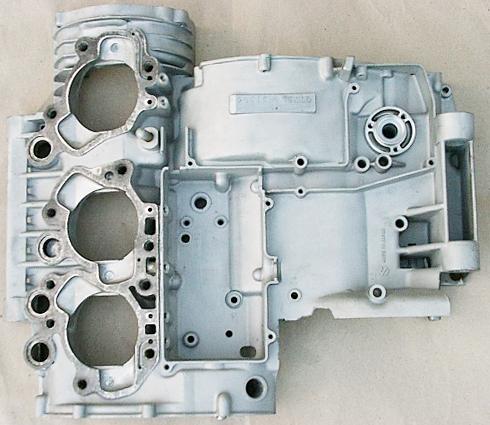 Case is cleaned carefully. Ready for masking a 2nd time in preparation for paintjob |
 |
|
 |
 |
  |
 |
 |
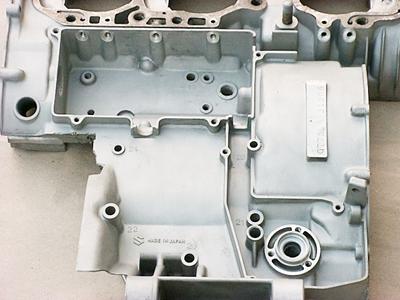
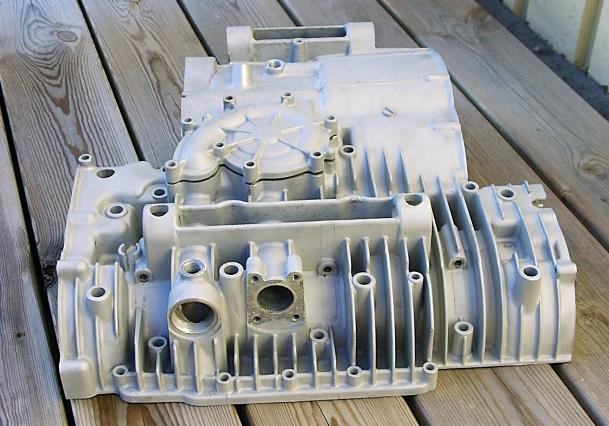
| Masked off areas for gaskets and openings where paint is not desired. | |
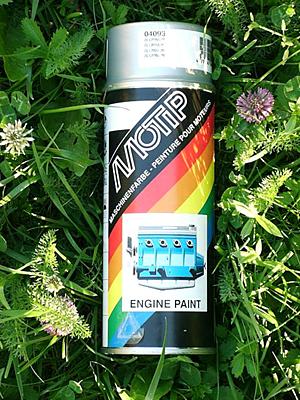
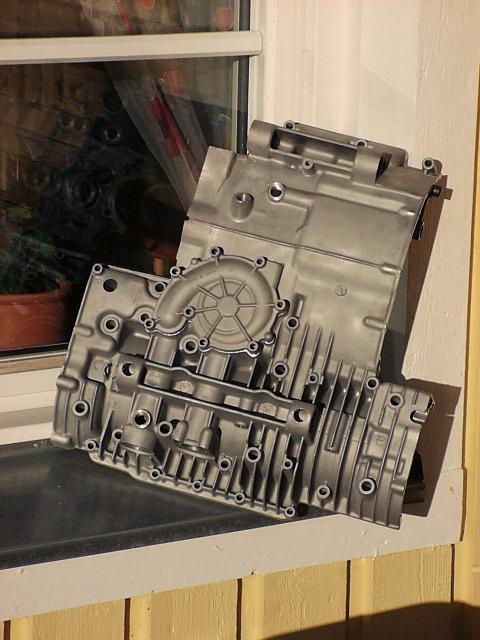
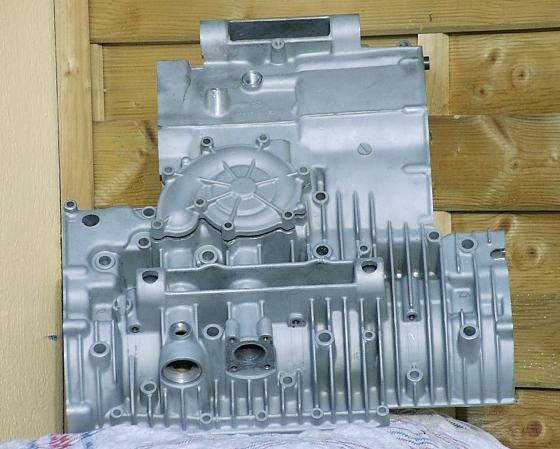
I used a quite mainstream engine paint in spray can format. I tested it on the water pump cover first. Kind of slow drying but after given about a day to harden the surface appeared to be very durable. I think the color look right for my purposes at least and there is a certain gloss that should reject dirt and make it easier to clean the case. So I went ahead and painted the case. Here are some photos:
 |
 |
|
 |
 |
(C)2001 Gunnar Forsgren, All rights reserved